

How to Read the Ocean Like a Fisherman
Introduction
There’s a rhythm to the sea that no app can fully translate — a language of lines on the horizon, smells in the wind, and the quiet patience of those who live by it. Long before swell chartsand tide tables, fishermen, sailors, and beach kids learned to read the ocean with their senses. This Stoked project is about keeping that awareness / or developing it – read the water like a fisherman, you’ll score good, uncrowded surf a lot of the time.

The Basics: What Swell Really Is
Swell is simply energy moving through water – waves born from wind, travelling far beyond the storm that madethem. The size, power, and spacing of that swell depend on three things:
1. Wind speed – how hard the wind blew where it started.
2. Wind duration – how long it blew for.
3. Fetch – the distance it blew across open ocean.
Together, these create the “sea state” that becomes the swell we surf. Once the wind stops, that energy keeps rolling until something – a reef, sandbar, or shoreline – shapes it into breaking waves, again with the influence of wind or the absence of it.
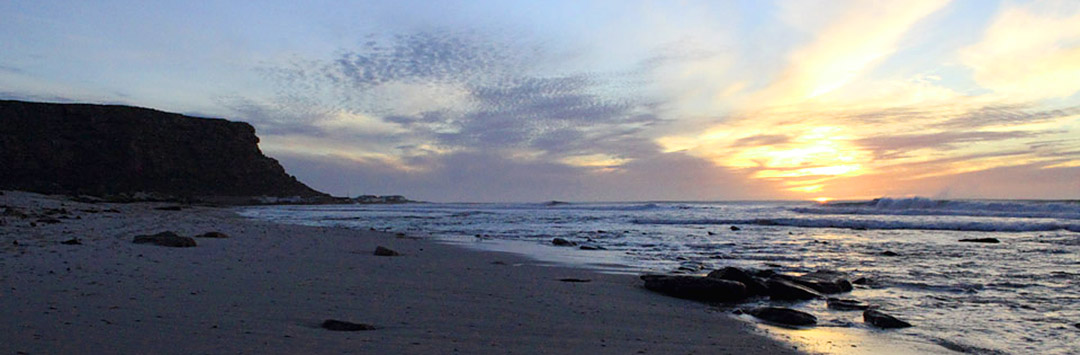
Reading the Sea Without an App
Next time you’re on the beach, put your phone away and take five minutes to just watch. You’ll start to notice:
Lines on the horizon: Long, evenly spaced sets mean distant storms; short, choppy peaks mean local wind swell.
Wind texture: Look for cat’s paws – dark patches where wind scuffs the surface. Onshore winds blur the lines; offshore winds polish them.
Smell and sound: A strong seaweed scent and muffled crash can signal an incoming low-pressure system.
Clouds and sky: High, streaky cirrus clouds often arrive before a front – surf may build within 24 hours.
Birds and fish activity: If seabirds are feeding closer inshore, it often means upwelling – cooler water, changing currents, and sometimes a shift in swell direction.
Checklist for Beginner Swell Watchers
1. Check the tide chart – Tides can make or break a surf session. Low tide exposes reef and sandbars; high tide can drown smaller waves.
2. Know your swell direction – In South Africa, west swells hit Atlantic-facing beaches, while south swells wrap around the peninsula.
3. Notice swell period – Measured in seconds (e.g. 8s, 14s). The longer the period, the more powerful and organized the swell.
4. Track the wind – Offshore = smooth faces; onshore = blown out. Learn your local wind patterns – the Cape Doctor, the berg wind, the north-westerlies.
5. Watch the moon – Full and new moons mean spring tides (bigger highs and lows). Mid-moon means neaps (smaller tides).
6. Learn from locals – The ocean speaks in patterns; old fishermen and veteran surfers are fluent.
7. Keep a surf log – Record what you saw and felt — tide, wind, smell, temperature, cloud type. Over months, you’ll predict conditions without even checking the charts.
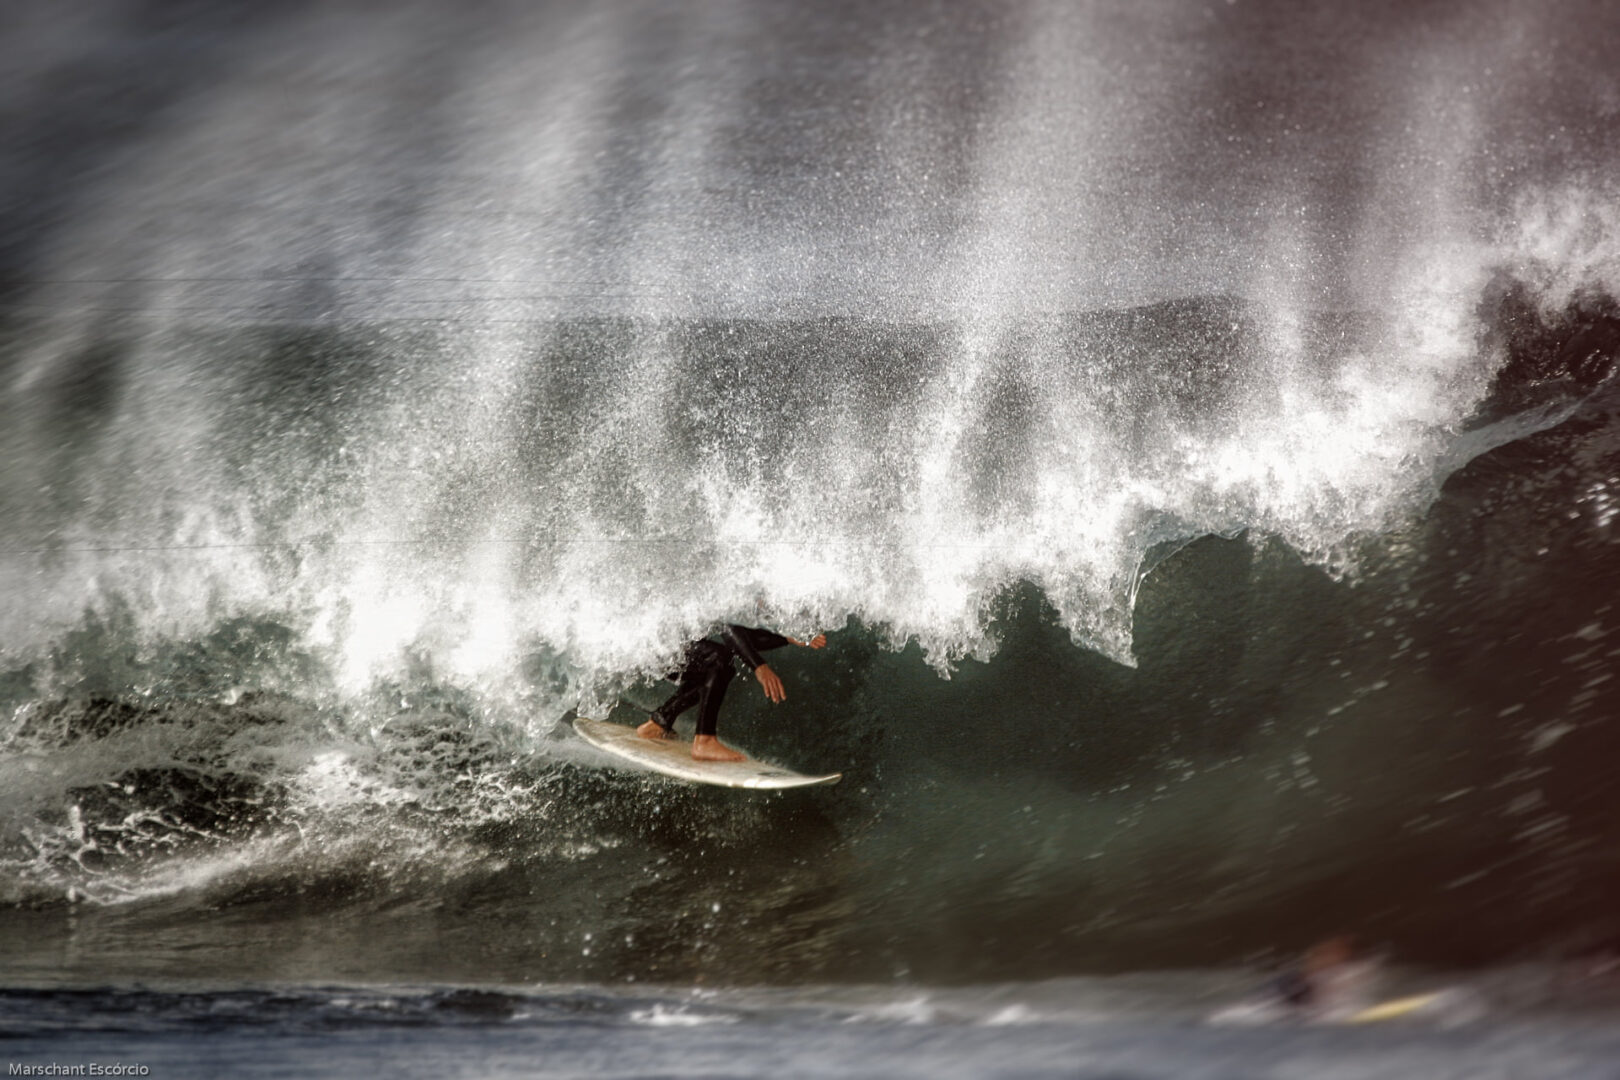
Why Fishermen Know Best
Fishing folk have always been frontline observers of the ocean. They study currents, color, and cloud to find both fish and safety. Their skill isn’t mystical – it’s a deep habit of attention. That’s the real art of swell tracking: learning through repetition, humility, and care.
The more you pay attention, the more connected you feel. The sea stops being a background to your surf and becomes a living, breathing companion – full of moods, clues, and stories.
Closing Thoughts
To read the ocean is to listen.
The waves don’t lie; they just ask that you slow down enough to notice.
Next time you check the swell, step outside first… the forecast lives right in front of you ♥
A brief introduction to deciding when and where to surf for beginners
Beginner level
To read the ocean is to listen.
The waves don’t lie; they just ask that you slow down enough to notice.
Next time you check the swell, step outside first. The forecast lives right in front of you.





 Shopping Cart